

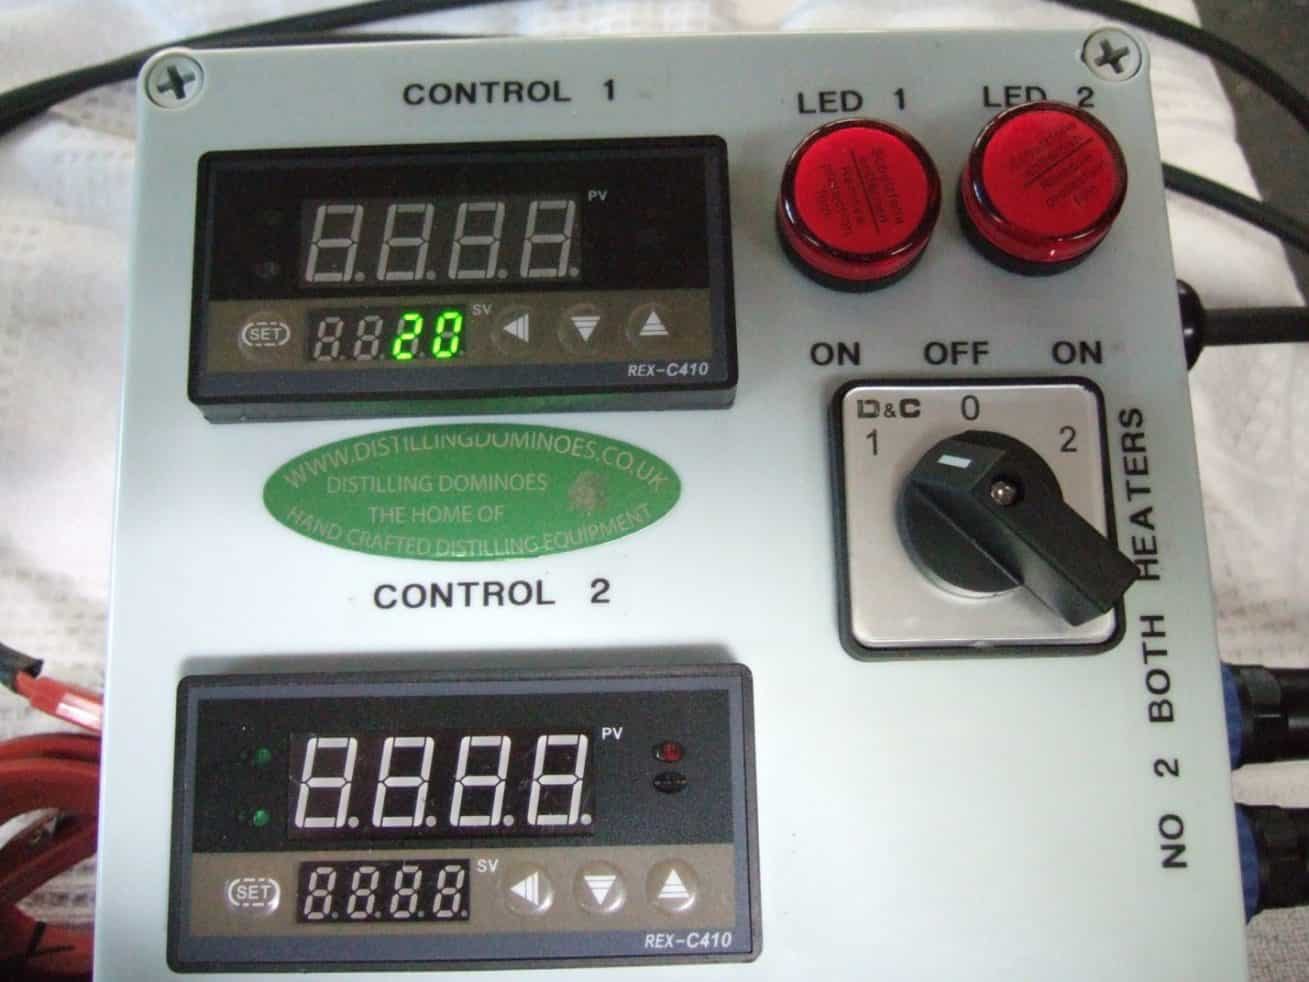
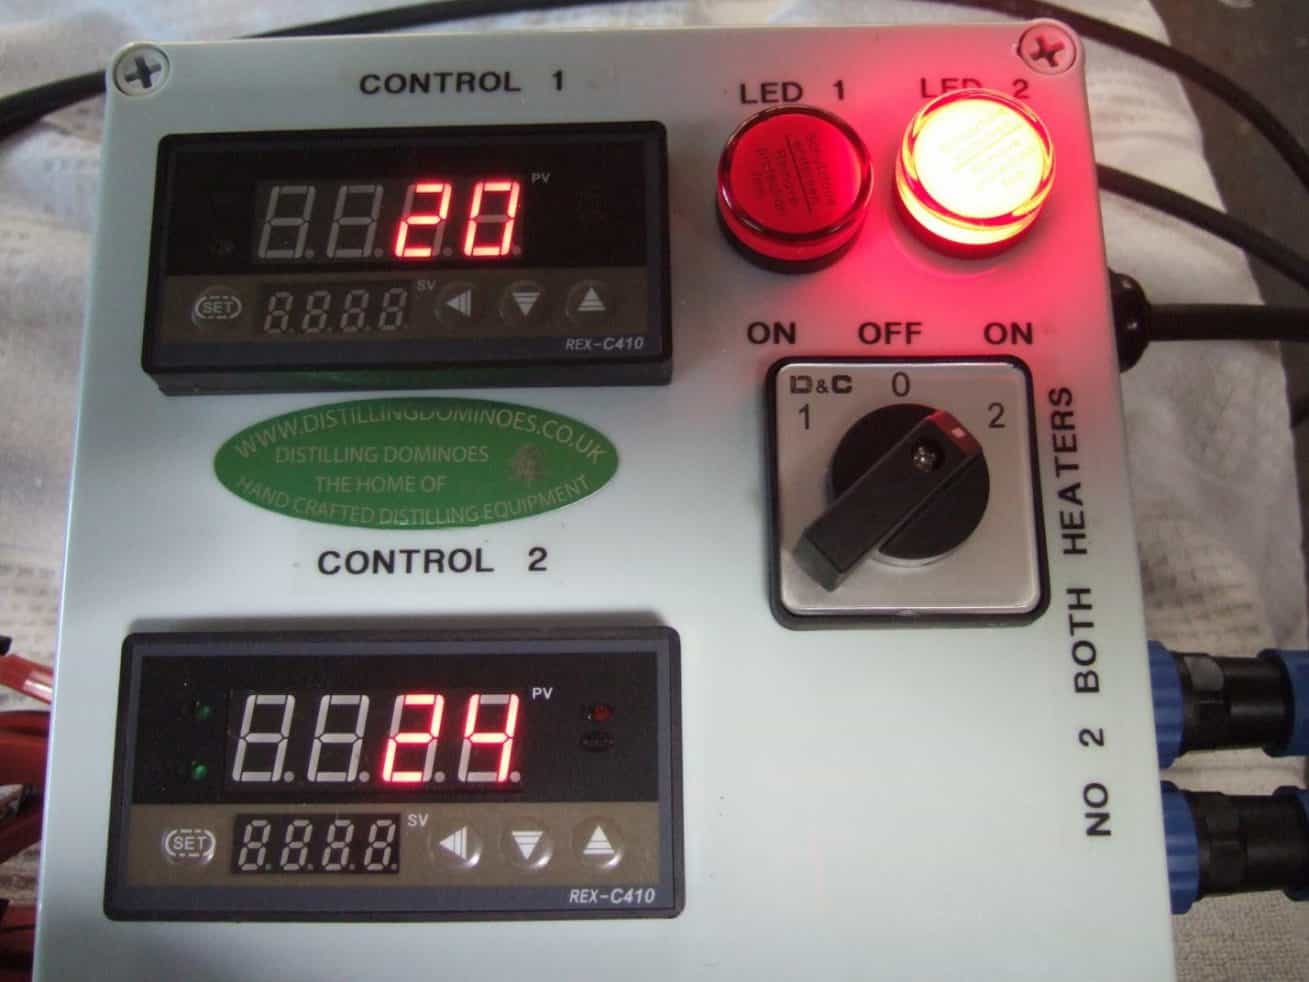

Rex C400 & Rex C410 Controller.
Along with the controllers I have some SSRs 25Amp & 40Amp complete with their aluminium cooling radiators & K type probe with the threaded end. These are a 6mm thread.
These can be used to make controllers for the one inch (1”) elements and the two inch (2”) Tri Clamp element. Or element of your choice up to and including 5000watts. I also have some 80mm x 80mm x 25mm cooling fans, grills for the fans, voltage with combined amp meters and some 330K variable resistors with knobs to use with the SSRs should you which to go down that road when making your controller. The SSRs are Resistor Controllable and also Voltage Controllable via a PID. Last but not least there are some 23amp ( 5Kw ) load voltage regulator controller complete with knobs. These make very nice element controllers (one wire in one wire out ) as they work from full voltage to no voltage absolute control when used in conjunction with the voltage ammeter and cooling fan. The 3Kw element is = to 3000watts. (3Kw) dependant on your voltage. i.e. Voltage supply 240 Volt =12.5Amps. 230 Volt = 13.00 Amps. 220Volt = 13.6 Amps. All will work fine with a 13amp plug and fuse.
If you would like me to I can make a controller for you. Lead time of a couple of days. I try to have one of each ready for sale but this does not always work if someone has made a purchase. A little info that may help you with REX C-410 only please be aware that not all PIDs have the same settings.
FACTORY SETTINGS FOR REX C-410
AL1 = 50
ARU = 0
P = 30
I = 240
d = 60
Ar = 25
r = 1
SC = 0
LCY = 1000
These setting will allow you to set and reset the temperature you are wanting to achieve.
Press the SET KEY for as long as it takes to bring up the AL1 in the Red LEDs. Press the SET KEY momentarily to move the digits on Al1 to ARU to P etc. Use the GREEN LEDs to change the value you a achieve this via the UP and DOWN arrowed keys to make the changes. Then press the SET KEY to move on. Once you have put in the above settings press the SET KEY until the RED LEDs go back to normal.
When you wish to change the temperature up or down press the SET KEY momentarily until the GREEN LEDs flash. The digit that is lit the brightest is the one that you can change to a different number via the up and down arrows. Once you have changed this one press the forward arrow key and the next digit will be brightly lit you can now change that to the next number/setting. Once you have your new setting press the set key momentarily and you are set to go. The unit will now be set to your new setting.
Note. If you wish to use higher temperatures than 240ºC (I )must be changed to a higher setting or the alarm will activate. Equally if you wish to use the alarm then (I) will need to be set to that temperature.
( SHOP Electrical )
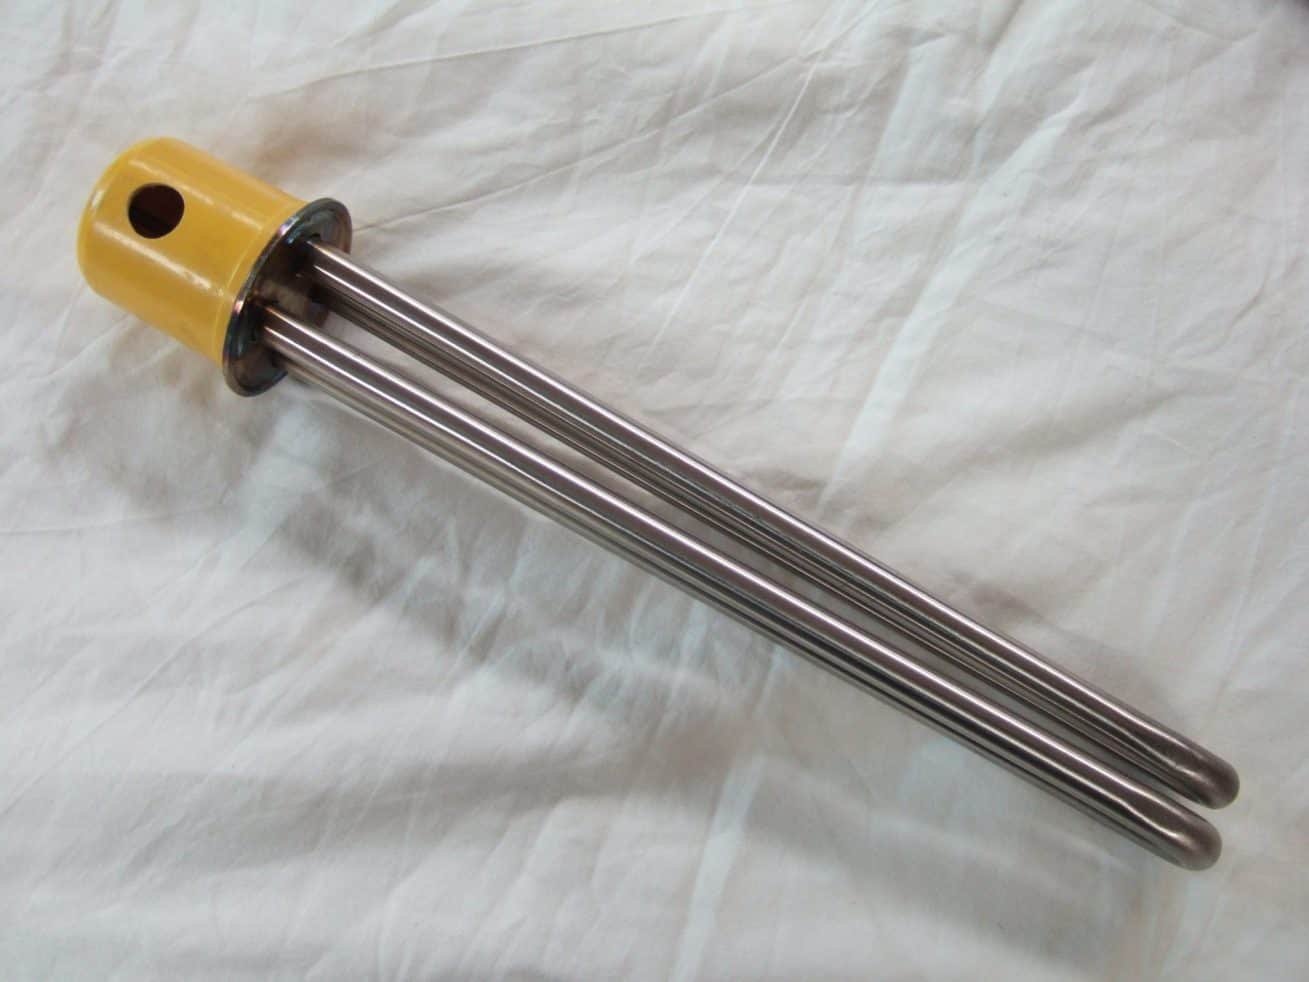
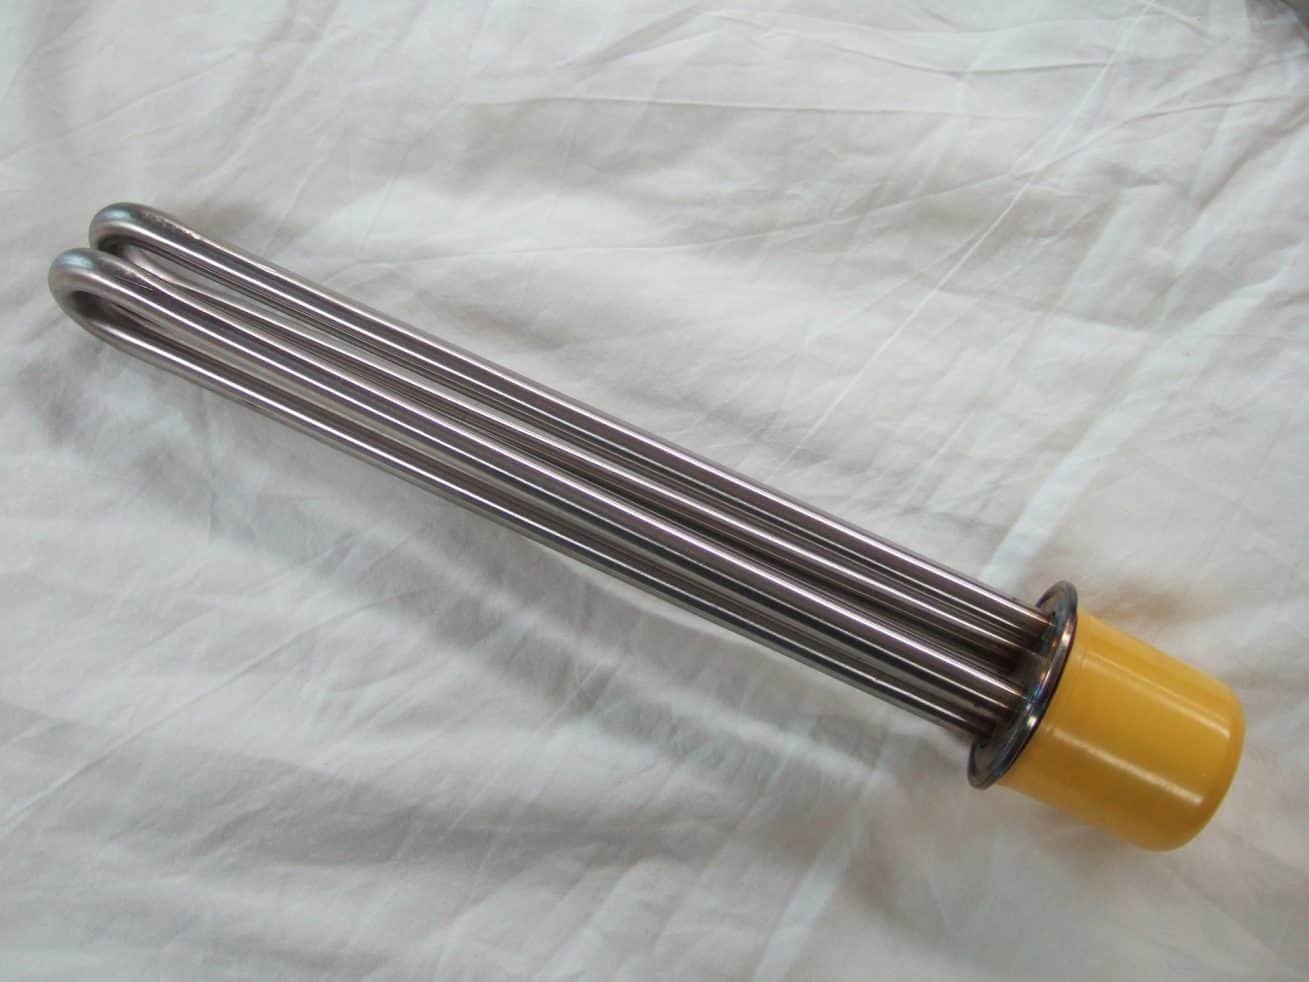
These element are a heavy duty item. Not only are they heavy they are a well made. They come complete with the cap which is held in place via a centre nut. This nut also acts as the earth terminal.
I do have a few spare caps £3.25 each.
The elements are connected by a link that joins the stems together. When connecting the element to the supply just connect the Live ( Brown ) to one linked terminal and the Neutral ( Blue ) to the other linked terminal. Connect your Earth wire ( Green/ Yellow striped ) to the centre stud. This is a 5mm stud. If I think when packing the element I supply a couple of nuts and washer as they are not supplied as standard. Don’t ask I don’t know why.
Recommended cable size 1.5mm / 1.75 3 core Heat Resistant. 2.5mm 3 core Heat Resistant would be a better but choice but more expensive and not necessary.
( SHOP Electrical )